
Photoshop Vignettes 3
Method 5 ñ Using a Feathered Selection on a Mask
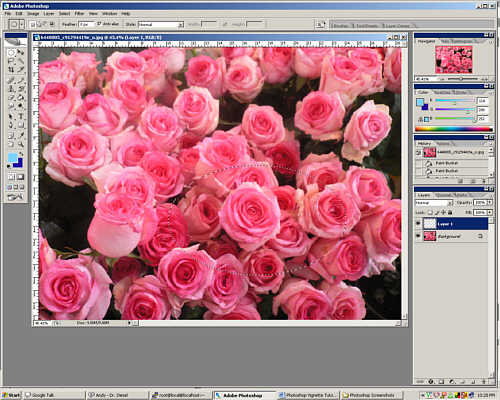
| Create a new layer by either clicking on the "Create a new layer" icon (square within a square) on the bottom of the layers menu (bottom right of the
screen) or click on Layer > New > LayerÖ Making sure that the new layer is selected; use the Elliptical Marquee tool to draw a marquee around the part of the image you want to keep. |
 |
| From the Select > Feather menu or using Alt + Ctrl + D, choose the number of pixels to feather the selection by, in this case about 100 pixels. | 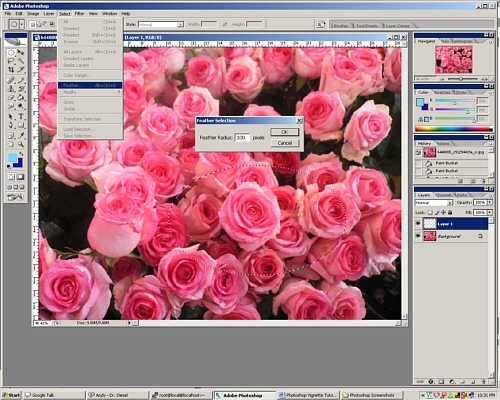 |
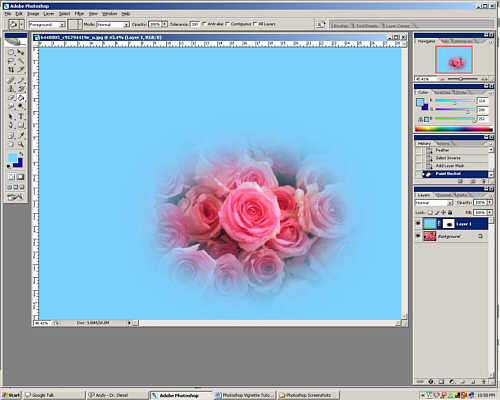
| Use Select > Inverse or use Shift + Ctrl + I to invert the selection. Create a new layer mask by choosing Layer > Layer Mask > Reveal Selection click on the "Add Layer Mask" icon (an ellipse inside a circle) on the bottom of the layers menu (bottom right of the screen) Ensure the blank layer image is selected and not the layer mask and then use the Paint Bucket Tool to fill the layerÖ |
 |
Method 6 - Third Party Plugins
6a ñ trans-vignet.8bf from 8bf.net - http://8bf.net/trans-vignet.html
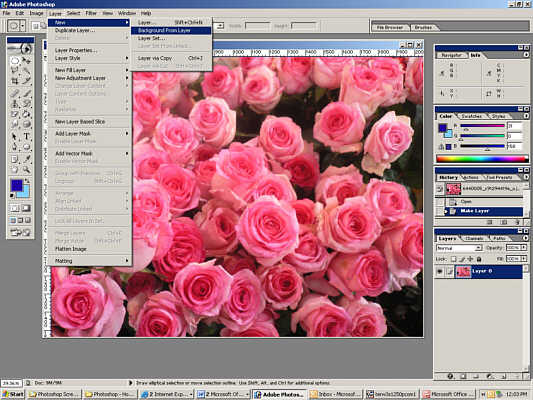
| Download the file and put trans-vignet.8bf into the Photoshop Plugins directory. A new menu entitled AAA Filters will appear in the Filter menu. This base image or background has to be turned into a layer. Do to this double click on ìbackgroundì in the layers menu (bottom right of the screen) or by clicking on Layer > New > Layer from Background |
 |
| Create a new layer by either clicking on the "Create a new layer" icon (square within a square) on the bottom of the layers menu (bottom right of the screen) or click on Layer > New > LayerÖ | 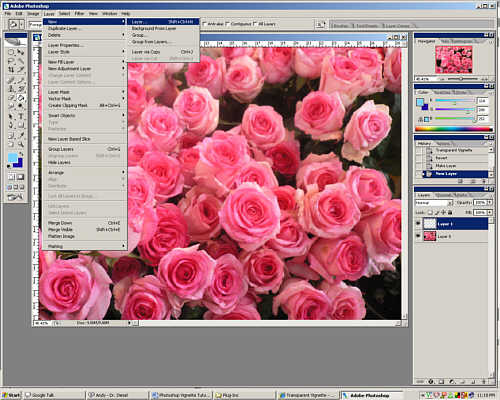 |
| Fill this new layer with the colour of your choiceÖ | 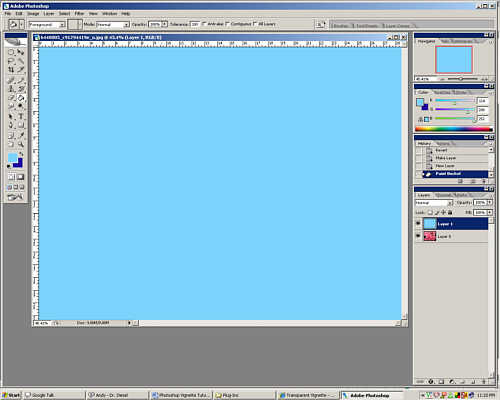 |
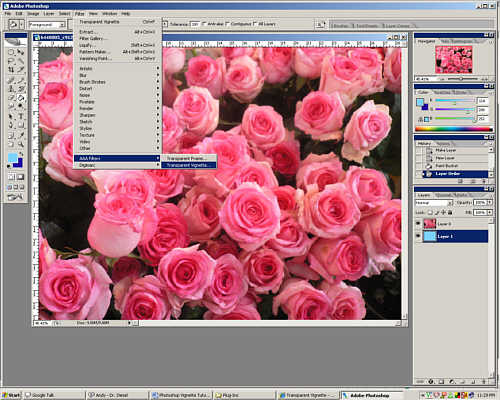
| Drag the coloured layer so that it is underneath the image you want the vignette applied to. Click on Filters > AAA Filters > Transparent VignetteÖ to start the plugin |
 |
| Use the pluginís sliders to adjust the transparency and size of the vignette. | 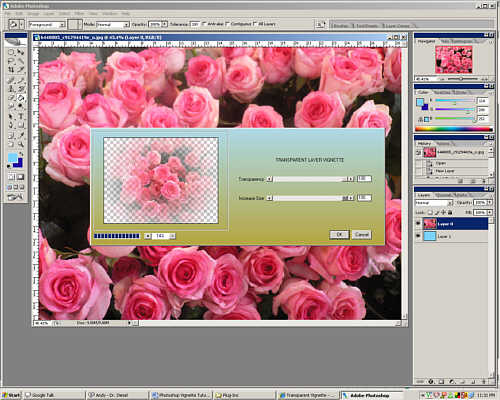 |
| This plugin leaves a circular vignette and takes forever to render. I think that any of the other methods is better than this solution. | 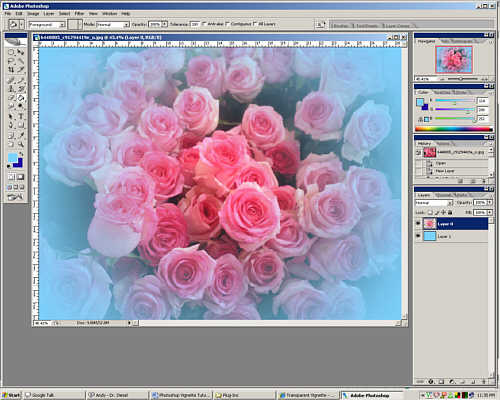 |
6b ñ vignette.8bf from richardrosenman.com - http://www.richardrosenman.com/software/downloads/
| Download the file and put vignette.8bf into the Photoshop Plugins directory. A new menu entitled Richard Rosenman will appear in the Filter menu.
This filter seems to work best on layer masks. |
|
| Create a new layer by either clicking on the "Create a new layer" icon (square within a square) on the bottom of the layers menu (bottom right of the screen) or click on Layer > New > LayerÖ | |
| Fill this new layer with the colour of your choiceÖ | |
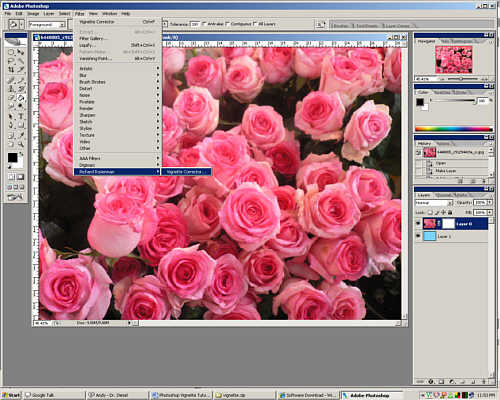
| Drag the coloured layer so that it is underneath the image you want the vignette applied to. Create a new layer mask by choosing Layer > Layer Mask > Reveal All or click on the ìAdd Layer Maskî icon (an ellipse inside a circle) on the bottom of the layers menu (bottom right of the screen) Make sure the mask is selected and Click on Filters > Richard Rosenman > Vignette CorrectorÖ to start the plugin |
 |
| Adjust the pluginís sliders to get the effect you wantÖ | 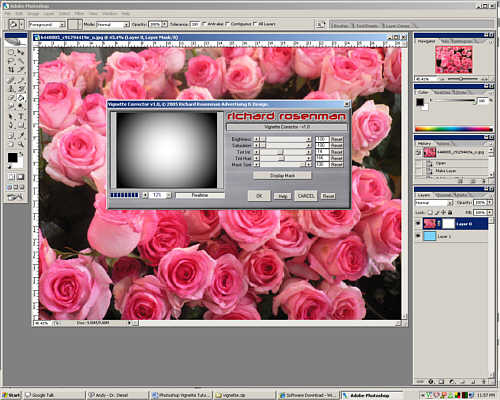 |
| This plugin leaves a circular vignette and while it is very much quicker than the 8bf.net version and has more options, I think you may as well stick to one of the other methods already mentioned. | 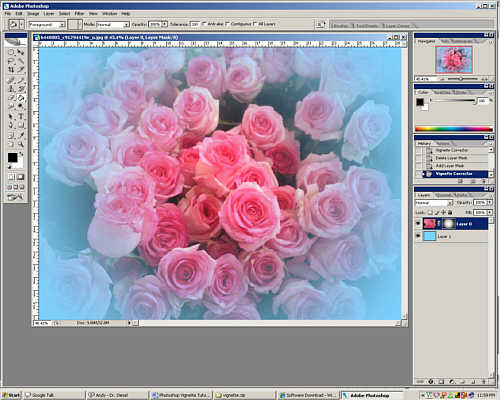 |
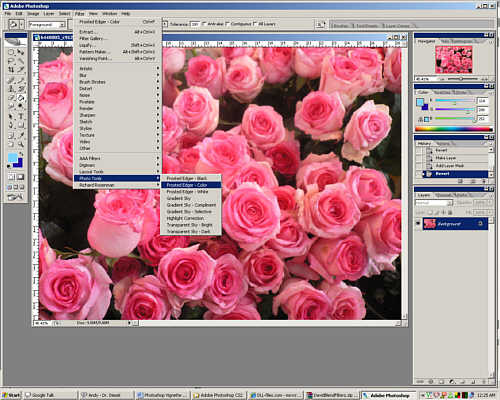
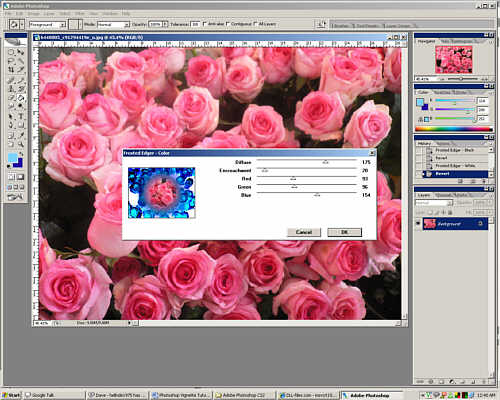
6c ñ frostblk.8bf, frostwte.8bf and frostcol.8bf David Blend Filters from The Plugin Site - http://thepluginsite.com/resources/blend/index.htm
| Download the file and extract the files to the Photoshop Plugins directory. When I did this I got a warning that MSVCRT10.dll could not be found. I nearly gave
up but a quick search found a copy of the file on my computer which I copied to the Photoshop main directory. It can also be downloaded from
http://www.dll-files.com/dllindex/dll-files.shtml?msvcrt10 Once the plugins are installed two new menu items appear under the Filter menu, Layout Tools and Photo Tools. These plugins cannot be used on layer masks. Click on Filters > Photo Tools > then Frosted Edger ñ Black, Frosted Edger White or Frsted Edger - Color to start the plugins. |
 |
| Frosted Edger - Black | 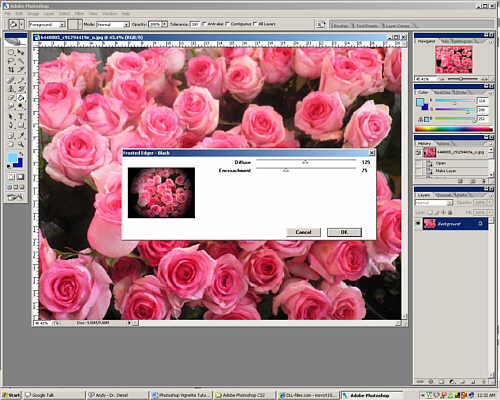 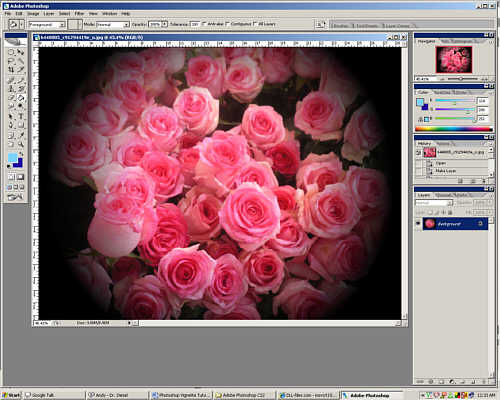 |
| Frosted Edger - White |  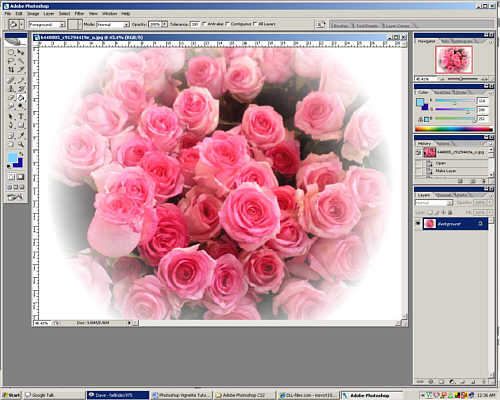 |
| Frosted Edger ñ Color You can make some weird effects with this plugin. These plugins didnít really do what I wanted. They are a little slow but the Color one is especially fun to play with. |
  |
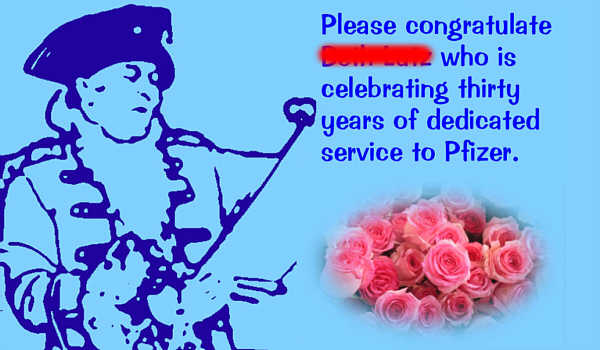
The finished image can then be cropped and/or resized. The image I made was used as a part of a screen to celebrate a colleagues 30 years service and was created using method 3.
This page created 21st April 2007, last modified 21st April 2007
