
Terre Haute House Repair - Dining Room
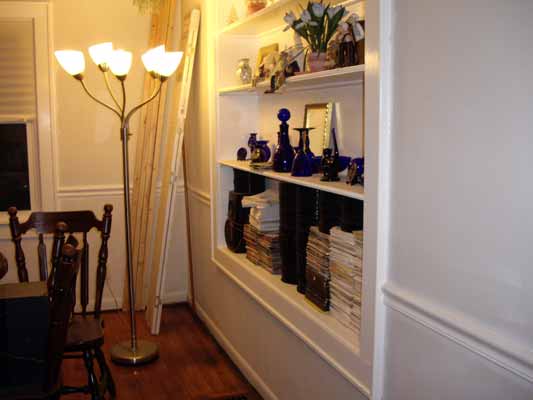
Refurbshing the dining room was a project that was started but not really finished. The fitted carpet was removed and the hardwood floor, which was luckily in a good condition, was sanded and varnished. The east wall was once an exterior wall of the house until the utility and games room were added about 30 ears ago. This wall contained a blanked-off window for which I made shelves.
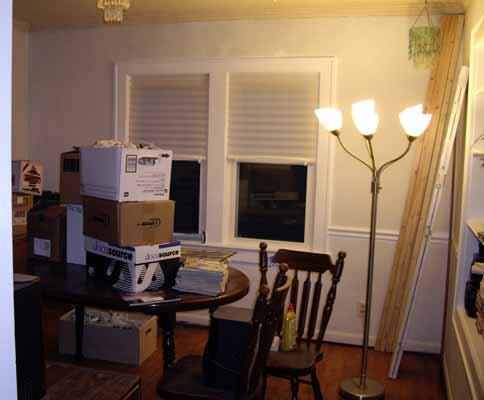
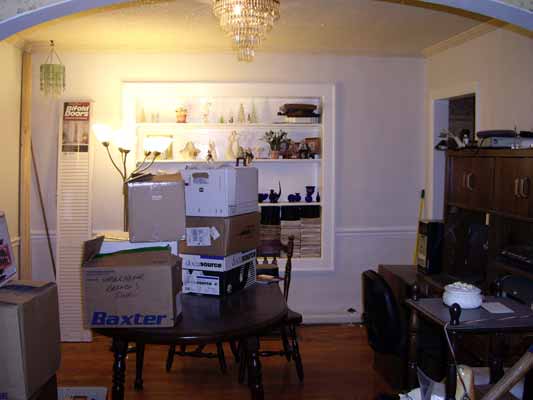
Our dining room before the latest round of improvements to it - 14th June, 2009
For some reason, the socket that the 5-bulb floor light is plugged into is on an electrical circuit all of its own. The wiring is relatively new and not of the old "knob and tube" sort.
We were just going to redecorate this room but while this is the "Year of the House" we decided to add some more electrical sockets and upgrade the old electrical wire that ran to the some of the present sockets. In order to do this my plan was to find the studs and cut a hole between two of them 8 inches high between the two where we wanted the new sockets. The size of the hole would be big enough for me to get a drill inside and drill down through the sole plate to the basement so I could run new wiring, provide me with enough room to hammer the new socket back boxes into the studs and give me a square opening to make patching the drywall easier.
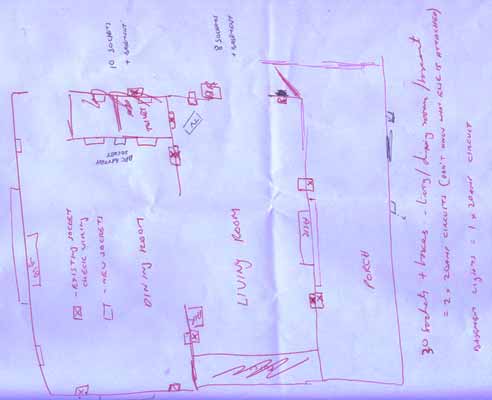
Ground Floor Electrical Sketch
Some people can visualize how things go together in their head. I can't without forgetting details or wanting to add things later so I draw sketches of almost everything I want to do to the house. The above sketch is a rough plan of the new ground floor electrics including the new socket outlets. Not very pretty or accurate I know, but these sketches work for me.
As usual, things didn't go as well as planned. I had trouble finding the studs using a stud finder - I was getting a lot more positive readings than there could possible be studs. I chose the strongest of the readings and used this a baseline to mark the opening and cut it open with a sawzall. The east wall, where I started was not the best wall in the room - it was very uneven near the floor. This, we new, was because our stupid cats would, for some reason, pee against this wall.
Cutting through the wall with the sawzall, was a bit of a disappointment. For a start, the wall wasn't drywall but older plaster and lathe which is harder to repair properly. The cat pee, over the years, had loosened the plaster and chunks of it fell away from the wall. The nails holding the skirting boards (base boards) to the wall had also rusted away to almost nothing. After cutting the first hole I wondered for a while whether it was worth carrying on or whether I should patch it up as best as I could and leave it.
I decided to carry on and luckily, the rest of the walls, although plaster and lathe, were much sounder. After cutting the holes, I went down to the basement to make sure and I wasn't going to drill through anything important like a gas or water pipe and used a 3/4" drill bit to drill down through the wall sole plate.
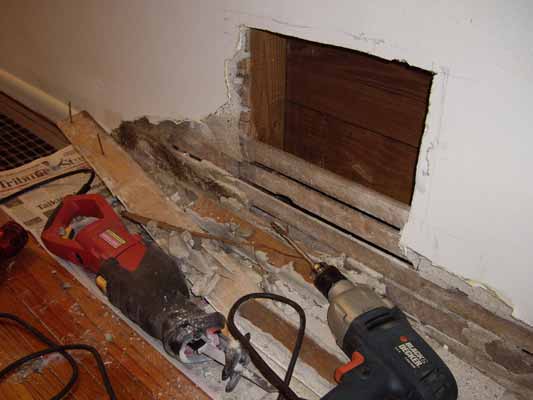
The first hole for the new sockets
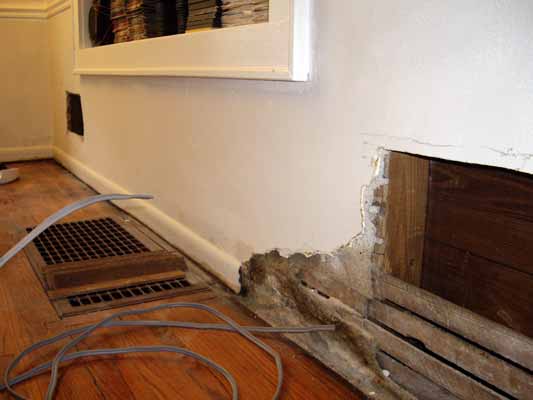
Luckily, the other holes were much better as the wall was much sounder.
Starting the dining room electrics - 14th June 2009
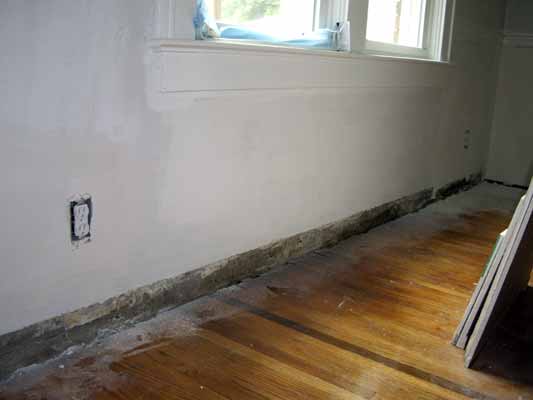
Going back to the wall with the unsound, smelly plaster, which was largely due to years of spraying by our various cats. We love them to death, but animals do things that aren't always too pleasant. We decided it would be easier to strip the one wall completely, from floor to dado or chair rail.
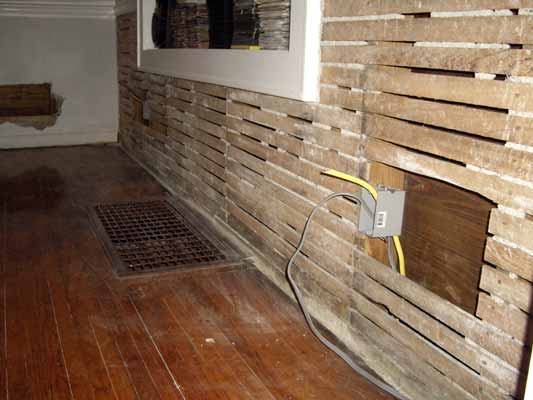
Dining room wall with plaster removed - 2nd July 2009
After fitting the new sockets it was time to repair the wall. We used drywall to replace the sections of wall that were removed.
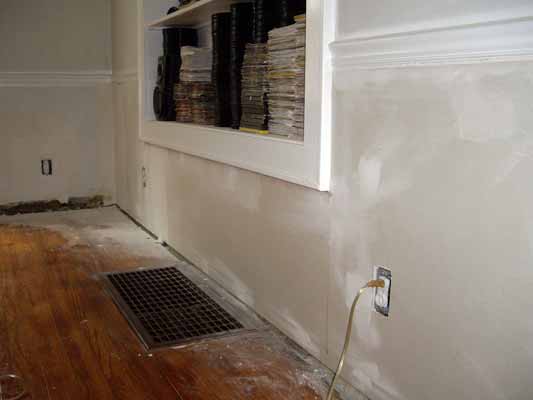
Dining Room Wall Repair - 1st August 2009
This page created 14th June 2009, last modified 2nd August 2009
