
Graduated Colour Fills 2
5) Filling the text outline
In order for the later graduated filling of the text to work well, choose a colour that is not going to be in the final text. Choose your colour then click on the Fill tool. From the ribbon that opens, choose the Wand icon, the fourth from the left, which "fills like areas with the active colour." Click anywhere inside the text to start filling with your chosen colour.
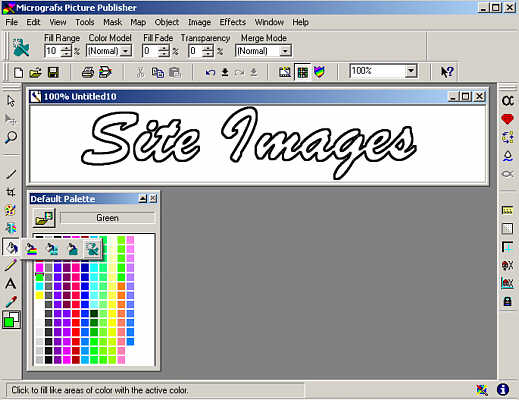
The Fill ribbon
6) The Colour Shield
Picture Publisher has a very handy tool named the Color Shield. With this utility you can choose which colours are to be either chosen or protected from any tools that you may subsequently use. To open the Color Shield, use the View > Color Shield menu or click on the shield icon in the toolbar.
Once opened, click on one of the shield's colour selectors and then place the cursor over the filled text. The shield's colour selector will change to that colour. Ensure the shield mode is set to Select and that the range is set to 1.
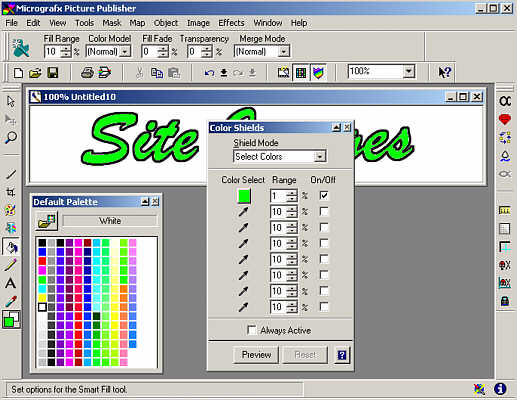
The Color Shield
7) Select the main fill colours.
The colours can be selected from the palette. Left click for one colour and left click for the other.
8) Set up the graduated fill
Reopen the Fill tool ribbon and this time choose the graduated fill icon, the first from the left. From the toolbar that opens set the Type to elliptical and the Color Sweep to 4.
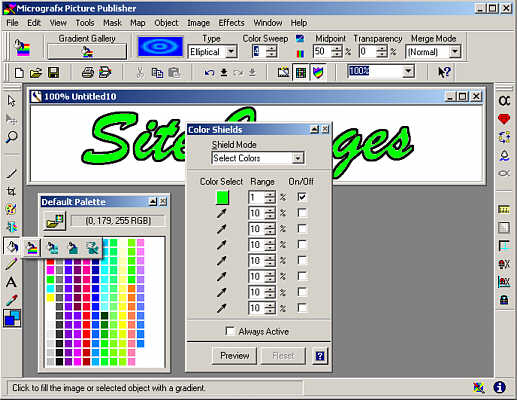
Setting the graduated fill parameters
9) Fill the text body
Simply drag the Fill cursor from one corner of the image to the diagonally opposite corner. Because only the text body colour has been selected by the color Shield only that colour, not the text outline or the background colour, will be filled.
10) Creating the transparent background.
In order for this to happen the new image must be exported as a GIF. Use the File > Export > GIF Export... menu. From the menu the GIF Options dialog that appears set the Background Color to white and from the Image Palette highlight the white coloured square and click the Add >> button to make it part of the Transparent Palette. Click OK, then choose a file name for the GIF image.
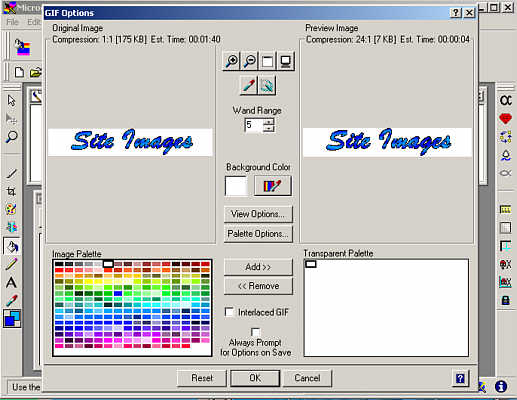
GIF Options Dialog
The finished image can be seen at the top of this page.
This page created 19th June 2005, last modified 3rd July 2005
